It was great to see everyone at Inspire 2012. Another great conference and I got the chance to speak to a lot of clients about what they are doing with the product, which is always very interesting and useful.
This is one of the topics which I presented at the Developer Spotlight session:
For Alteryx 7.0 we have implemented a major redesign of the map tool. A lot of the changes will be very obvious upon clicking on the tool, but today I wanted to take a look at one of the less obvious, but for some very interesting, changes to the map legend.
First let's take a quick look at the more obvious changes to the map legend, which you will find on the legend tab of the map tool:

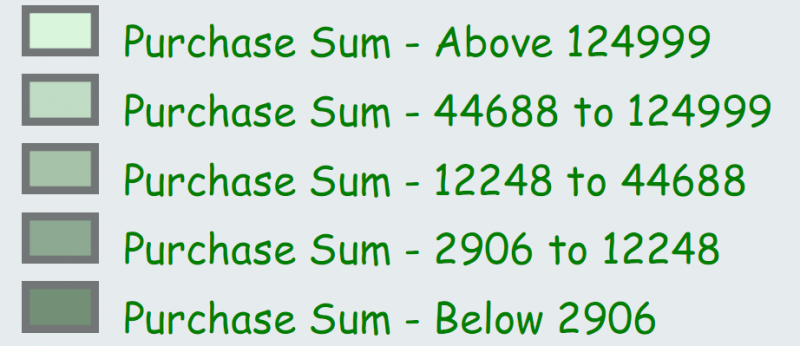
So the position option is the same as it was in previous versions of Alteryx. The remaining options are all new and give you extra control over the legend appearance, allowing creation of legends like the below:

The less obvious change is to do with how the legend is stored in the underlying data to allow the above options to work. In Alteryx 6.0 the legend which came out of the map tool was a single image for the whole legend; in Alteryx 7.0 the legend is PCXML (the Alteryx reporting data format).
So why is this interesting?
It is interesting because PCXML (unlike an image) can be manipulated using Alteryx. So the legend that comes out of the map tool is no longer the final legend which has to go out on your report. So want to make some text changes to your thematic legend text? Make a legend with headers and sections? What about a 2 dimensional legend? All of these are now possible using the standard Alteryx tool kit.
Seeing that this is something a few of you are going to want to have a go at, I have built a couple of macros to make things easy to get started with this new functionality: the Legend Splitter and Legend Builder macros.
The Legend Splitter
 This macro will take a legend from the map tool and split it into its component parts. To use it:
- On your map tool set your Legend Position to "Separate Field".
- Add the legend splitter macro downstream of your map tool.
- On the legend splitter macro ensure the Legend Field is set to "Legend".
So running the macro on the legend you can see above, results in the following data:
- The Text field is the text you can see in the legend.
- The Image field contains the report snippet with the legend image.
- The Theme fields attempt to automatically split a Themed layer's legend text into its components.
- The Style fields contain the table styling elements for the PCXML table.
The Legend Builder

This macro takes the components output from the Legend Splitter macro and builds them back into a legend table. You could just as easily do this using some of the standard reporting tools, but this is just for ease of use.
It takes four parameters: Text Field, Image Field, Text Style Field and Image Style Field. These fields are the corresponding fields which were output from the Legend Splitter tool and in fact if you add a Legend Builder tool immediately after a Legend splitter tool then you should get back the exact same Legend you had at the start. Where things get interesting is you can change the data between the two macros.
So some examples of what is now possible:
Drop the Theme Layer Name
Don't want that "Purchase Sum - " repeated for each item in your legend? In the Legend Builder select ThemeBand for the Text field and:
Change the Theme Layer descriptors
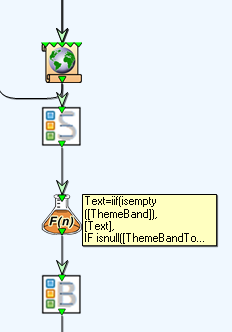
Need to do an international report for a French speaking client? No problem! Now you need a formula tool between the two macros to create the new legend text. If you update the Text field using the following formula:
iif(isempty([ThemeBand]),
[Text],
IF isnull([ThemeBandTo])
THEN "Plus de " + tostring([ThemeBandFrom])
ELSEIF isnull([ThemeBandFrom])
THEN "Moins de " + tostring([ThemeBandTo])
ELSE tostring([ThemeBandFrom]) + " à " + tostring([ThemeBandTo])
ENDIF
)
then:

Other uses I can see are fully customizable legends with titles and section headers and even perhaps a two dimensional legend grid!
Check out the macros and an example module on the download link at the bottom of the page.


